Installing and Seaming the
Drywall
Half-inch gypsum dry-wallboard was screwed
to the interior of the dome shell, and the seams were taped and
seamed. While none of these steps were difficult, it was somewhat
time consuming, as much of the work was done off scaffold. Only
minimal amounts of waste were generated, as triangle cutting
generally made good use of the full 4 x 12 foot gyproc panels.
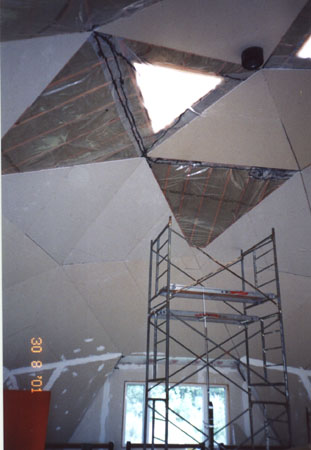 The seaming between the vapour barrier
sheets is visible in these pictures. We did try to be very careful to
seal all the seams to prevent moisture ingress into the ceiling, as
trapped moisture would have no path to escape.
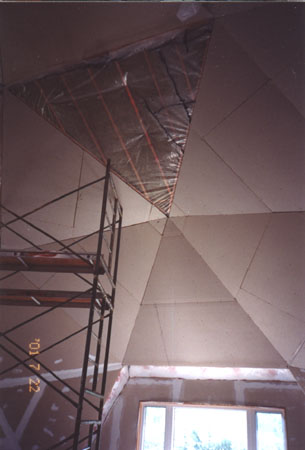
The seaming between the vapour barrier
sheets is visible in these pictures. We did try to be very careful to
seal all the seams to prevent moisture ingress into the ceiling, as
trapped moisture would have no path to escape.
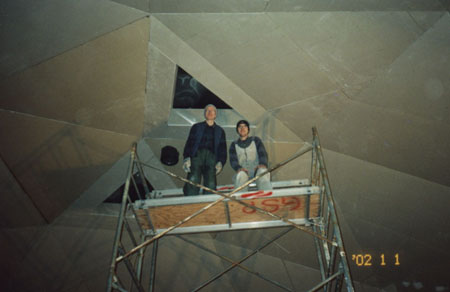
 Finally, on January 1st, 2002, the last
section of the drywall installation was completed. Now on to
seaming!
Finally, on January 1st, 2002, the last
section of the drywall installation was completed. Now on to
seaming!
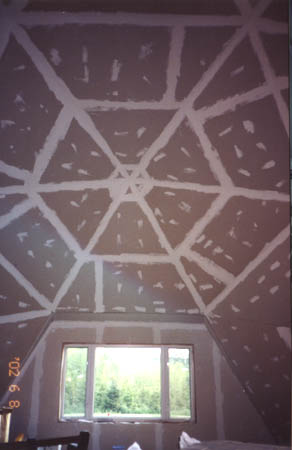
 Seaming was carried out from the top ring
down, generating interesting patterns, resembling giant spider
webs.
Seaming was carried out from the top ring
down, generating interesting patterns, resembling giant spider
webs.
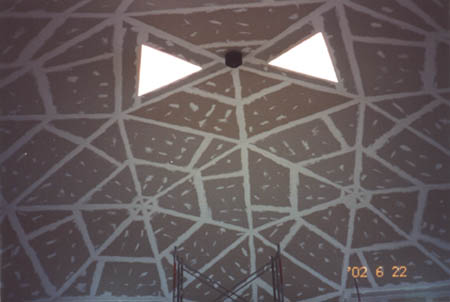
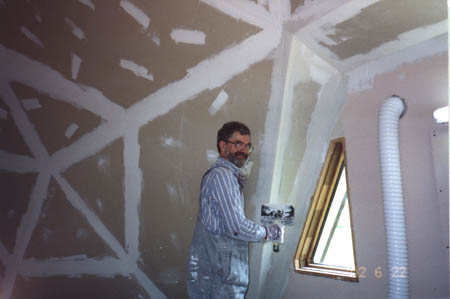
 By mid June, 2002 the first of three coats
of drywall "mud" was added to the last of the seams at the bottom of
the dome. Sanding and a second coat of seam compound was applied from
the top down. The seam was sanded a third time and finish seaming was
carried out a ring at a time, followed by final sanding and painting
(primer coat and then finish ceiling coat) as each ring of drywall
was completed from the top down.
By mid June, 2002 the first of three coats
of drywall "mud" was added to the last of the seams at the bottom of
the dome. Sanding and a second coat of seam compound was applied from
the top down. The seam was sanded a third time and finish seaming was
carried out a ring at a time, followed by final sanding and painting
(primer coat and then finish ceiling coat) as each ring of drywall
was completed from the top down.
 Return to the first
construction page
Return to the first
construction page
Go to the next construction page-The
Waste Water System
Return to TRI-LEA-EM